Canning fruits and vegetables at home is convenient, cheap, and healthy. While store-bought cans might contain undesired preservatives, making your own requires only a few ingredients and is easier than you think! We have a few basic tips for perfect jars of goodness that keep well for a long time.
Sometimes, we have large quantities of vegetables or fruits that we can’t use up in a short time – so there is the risk that they will go bad. This is a pity, as growing plants requires energy of all types: water, fuel, and long working hours.Therefore, food waste is an unnecessary loss of money, time, and energy. Plus, it also has a huge negative impact on the environment.
And often, ironically, the food you have in excess today will be the ingredient you can’t find anywhere when you need it the most! This is where home-made cans come in handy – you’ll have the necessary ingredients within reach, while saving money and helping to protect nature!
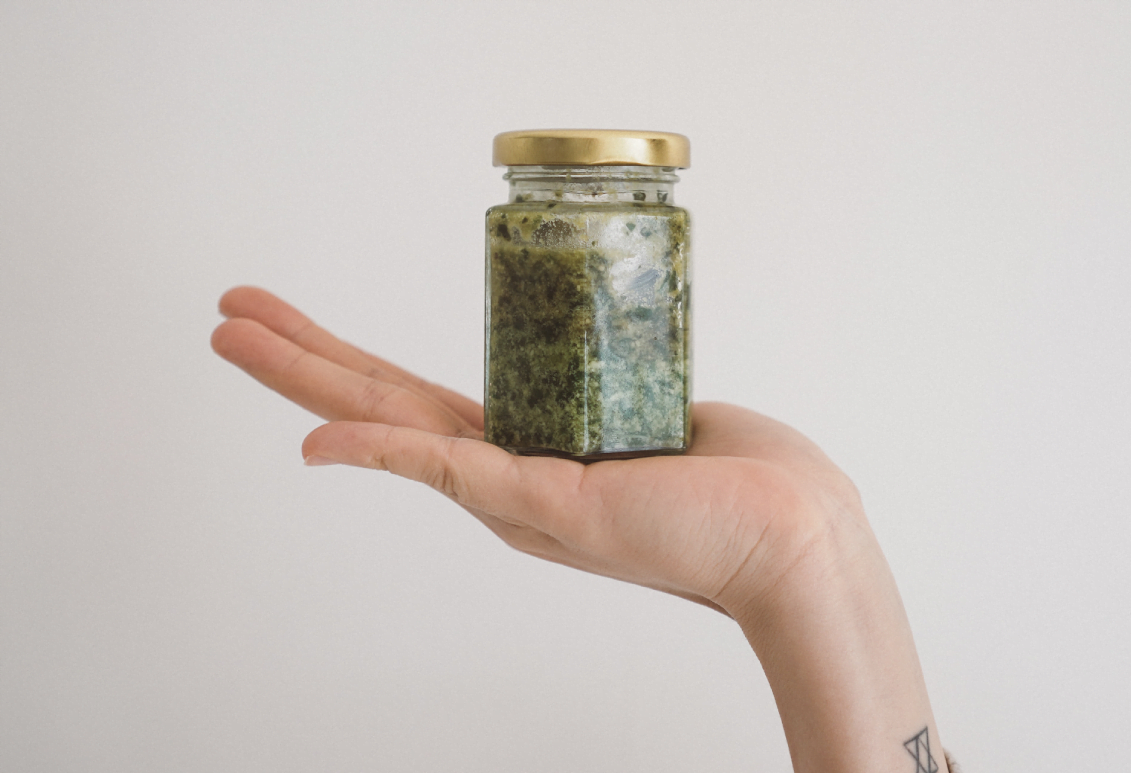
How to obtain perfect cans? Sterilisation of the containers is the process that prevents foods from going bad for a long time. Depending on the type of food you want to preserve, you can either heat your jars in the oven before filling them, or you can sterilise them in hot water after you fill them – or, preferably both. It is also important to tighten the jars hermetically. In this way, they can keep well for up to 1-2 years.
As general rule, you should avoid temperature shock, for example:
-After heating a jar in the oven, place it on a piece of metal (such as the blade of a knife) and you can then pour hot ingredients into the jar safely. Pouring cold food into a hot glass jar might cause it to crack.
-If opting for sterilisation by boiling, cold glasses or jars are placed in cold water and gradually brought to the boiling temperature.
This being said, here are some recipes for canning that are surprisingly easy. We chose for you the purest recipes, with no preservatives, sugar, fermentation, or vinegar!
✤ Green beans in a jar ✤
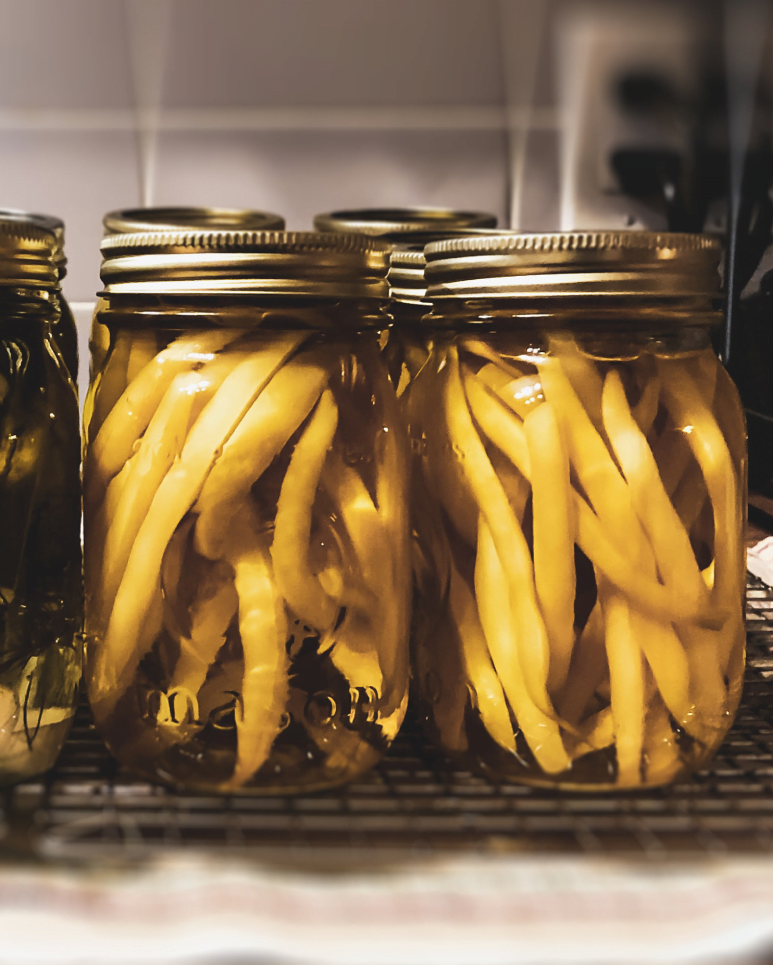
Because they are only slightly cooked, canned beans are still firm and crunchy enough for salads and side dishes, and they can be added as an ingredient to stews or soups.
Ingredients
∙400g fresh green beans
∙1L water.
∙1 tsp coarse mine salt
∙ a ¾ L glass jar
How to prepare:
▻ In a big pot, add the water and the salt. Bring the water to a boil and add the green beans.
▻ Wait for the water to reach the boiling point again and boil the beans for 3-4 minutes.
▻ Take the beans out and keep the water.
▻ Let the beans cool down 5-10 minutes, then place them tightly vertically in a previously sterilised ¾ L jar.
▻ After placing all the beans in the jar, pour some of the water in which they were cooked into the jar until you reach near the mouth of the jar, leaving 1.5-2cm empty. Tighten the lid.
▻ Label your jar with the name and date, using chic labels removable without traces.
Sterilisation:
Place a kitchen cotton cloth or towel on the bottom of a big pot and fill it with cold water. Put the jar inside slowly and bring the water to the boiling point. The jar should be sterilised for at least 30 min to 1h. Turn off the heat and let the jar cool in the pot.
Check on the jars from time to time in the first couple of weeks. The content and the liquid should be as clear as on the first day, and the lid should be curved down slightly in the centre.
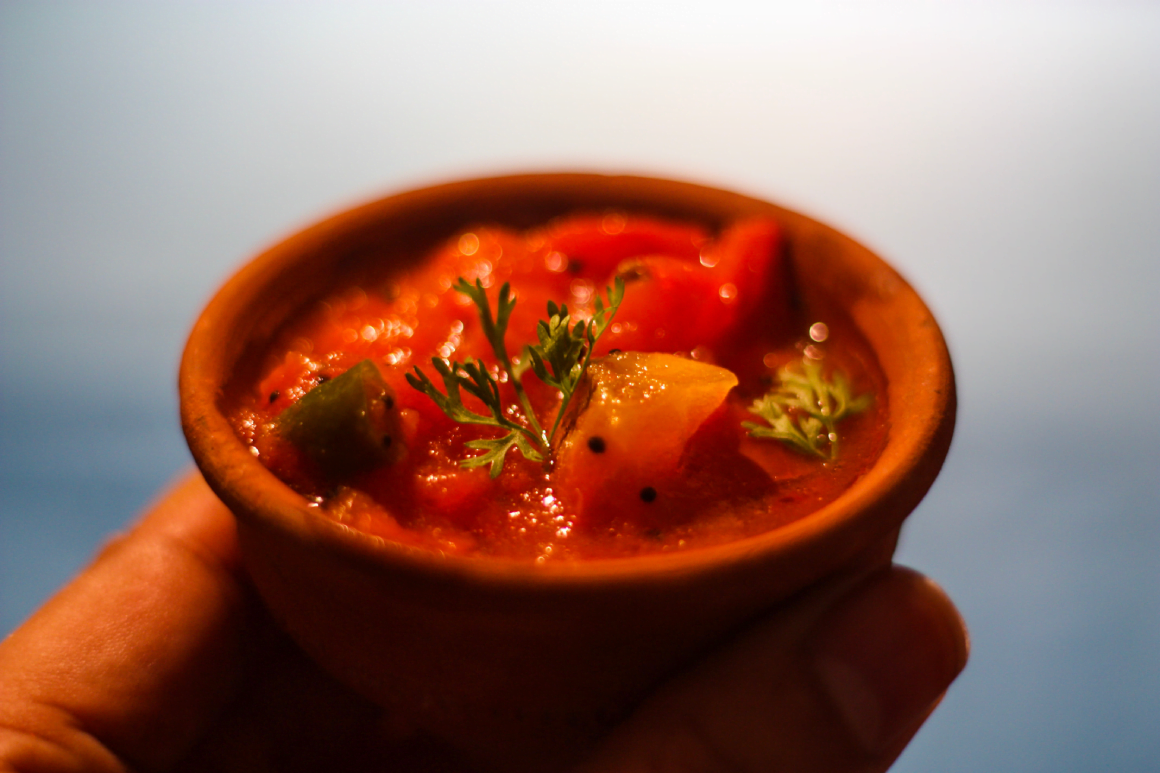
✤ Fresh cherry tomatoes in tomato juice ✤
This is the best way to keep sweet, juicy tomatoes for the cold season, for soups, stews, dips, or perfect pasta sauces!
Ingredients (quantities might differ depending on the type of tomatoes)
∙2 to 3 kg ripe tomatoes
∙2 kg cherry tomatoes (hard, with no bruises or scratches)
∙1 to 3 tsp coarse mine salt
∙dried basil, thyme, and/or oregano (optional)
∙3 glass jars ( ¾ L, or other sizes)
How to prepare:
▻ Wash the cherry tomatoes well, then fill the jars up to the mouth.
▻ Separately, juice the big tomatoes using a juicer – we recommend you use the Omega MM900 Juicer or the Omega MM1500 Juicer.
▻ Add 1 tsp salt to every 1 L of juice.
▻ Pour the juice over the cherry tomatoes – up to near the mouth of the jar, leaving 1.5 cm free.
▻ Tighten the caps well and sterilise the jars following the sterilisation steps above.
▻ Label your jar with the name and date, using chic labels removable without traces.
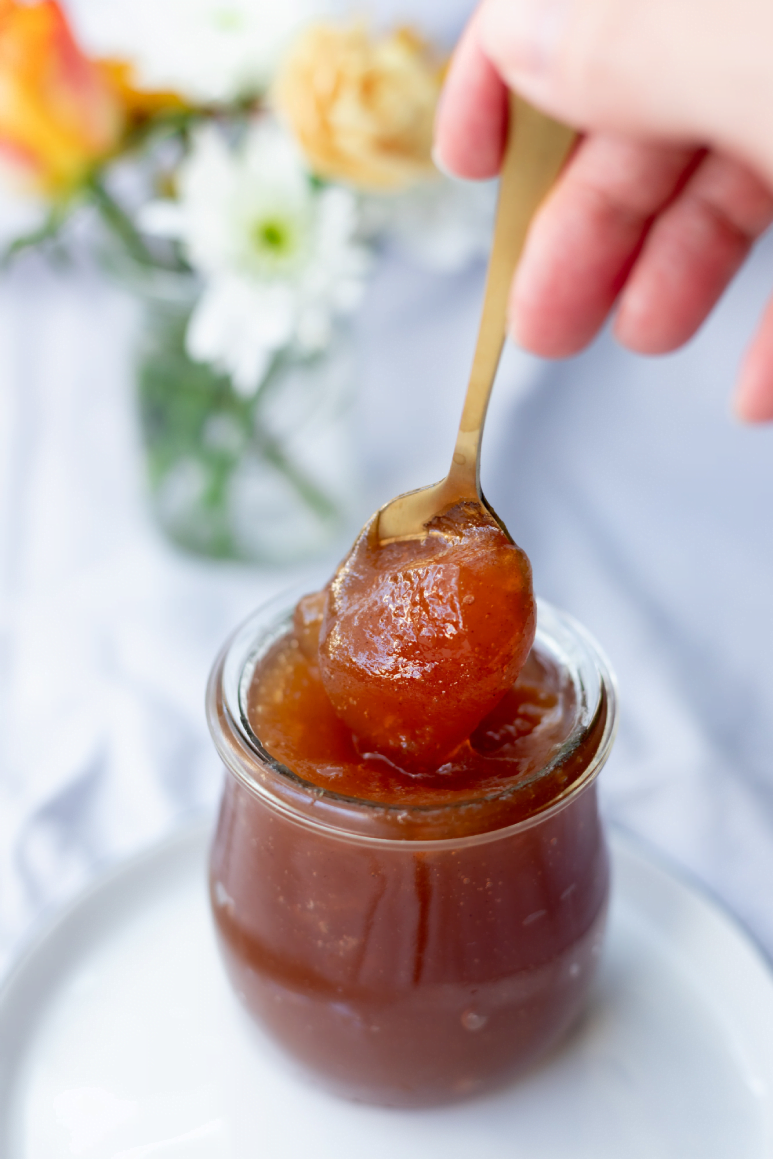
✤ Sugar-free plum jam ✤
This guilt-free preserve will satisfy your sweet tooth without any added sugar – it’s all just the natural sweetness of the fruits. Tangy, sweet, rich – perfect for morning toasts, pancakes, or cakes!
Ingredients
∙ 4 kg sweet, ripe plums, washed and pitted
How to prepare:
▻ Add the plums in a big non-stick pot and cook them until they become soft and juicy. Stir often, to make sure they don’t stick to the bottom.
▻ When they become soft and there is plenty of juice in the pot, turn the heat to low and cook until the quantity decreases to half and the jam becomes thick. Stir almost continuously to make sure it doesn’t stick to the bottom.
▻ Pour the jam into sterilised jars and sterilise using the steps above.
▻ Label your jar with the name and date, using chic labels removable without traces.
Enjoy their freshness at any time of the year!


